Faucet and Drain

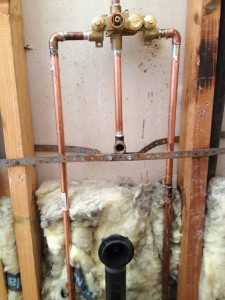
One of the nice things about doing a project yourself is that you become aware of more options.  Going in, I had no idea that some shower valves have built-in shutoff for maintenance.  Huh. I want that.

Moen and American Standard both have tub/shower faucet combinations that have the features we are looking for:

  • Volume and Temp control
  • Shutoff built into the valve
  • Replaceable trim kits with multiple style options

We went with the Moen Monticello in chrome.

Rough-in of faucet

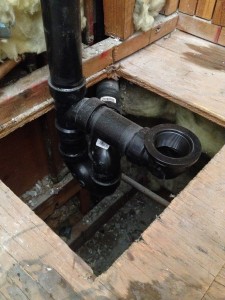
Drains are a neglected part that nobody wants to think about. There are two choices ABS and brass.  For ease I went with ABS.  I got the Watts kit from Home Depot, mainly because it’s schedule 40 ABS and prices reasonably at $25. One downside is that the overflow drain doesn’t sit flush with the tub requiring some work to get it seated correctly. I had an option to buy a kit specially for American Standard tubs, but I didn’t like that the joints were slip joints and the ABS walls were thinner. I’ll find out if I made the right choice in about ten years.

Drain ready for tub

It’s been a while since I posted. I’m way ahead of my documentation so you’ll notice I’m switching to past tense.
Backerboard Selection

I can’t believe that selecting backerboard could be so hard. I ended up with three finalists: Wonderboard, Durock, and Hardiebacker.

In a survey of Home Depot employees, the inter-webs, and people I know, Durock was the clear loser. Most people were evenly split between Wonderboard and Hardiebacker. In the end, I am going with Hardiebacker, mainly because that’s what my cousin suggested. Also, you can get it with a grid embedded on the surface to make it easier to line up tile, assuming that it’s level.

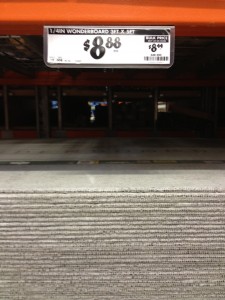
Wonderboard - notice that it looks like concrete.


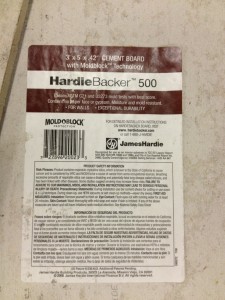
Hardiebacker 500

Hardiebacker 500 (Actually 420)

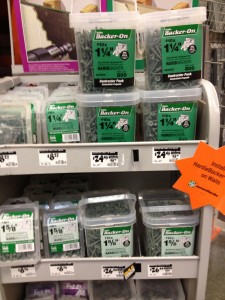
Now that I’ve got that out of the way, it was pretty easy to find 1-1/4 inch corrosion resistant screws.  Not sure if the spelling error is intentional or not due to trademark infringement (look carefully, the name is missing an “e”).


Vapor Barrier

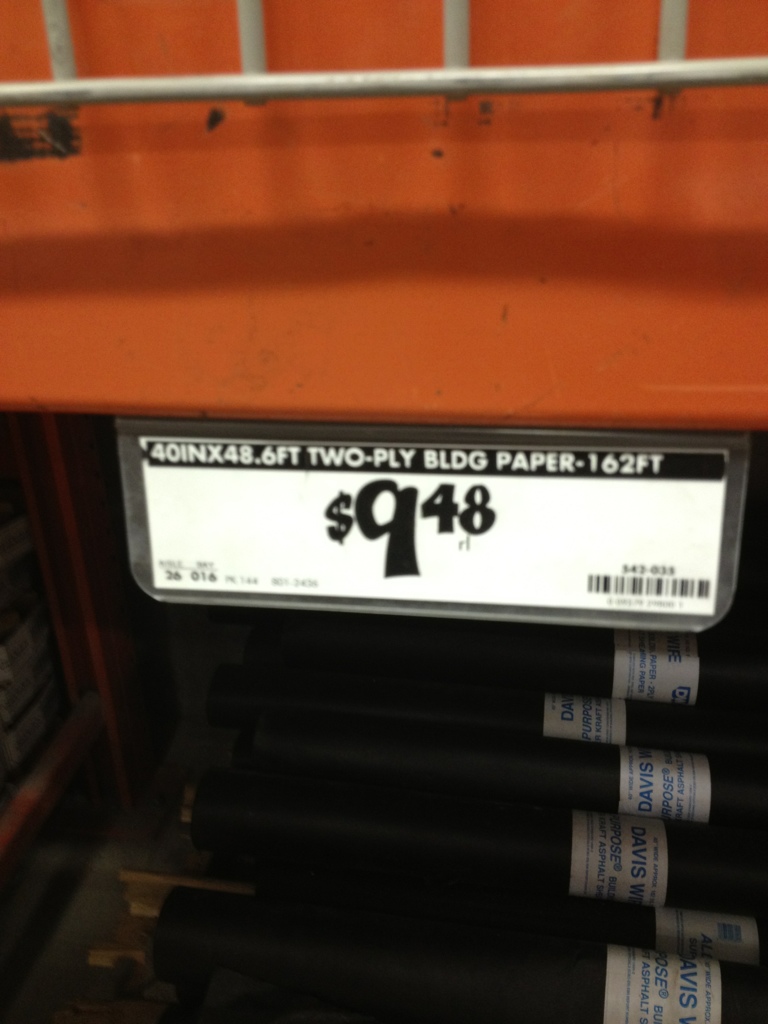
I’m sure there are many uses for vapor barriers, but if I were in charge of the big orange box, I’d put it near the cement board. After three different stores, I was finally able to find vapor barrier off by itself near the outdoor tile. From what I have read and from talking to people, it is common practice to use a vapor barrier behind your cement backer board in warm climates. Now that I’ve found it, I have two questions.

1. Is this an appropriate vapor barrier?

2. How do you install it? Is there a standard overlap? Do I need to tape the seems?

20120213-221122.jpg

Vapor Barrier


Tub Selection

In a scouting trip to Home Depot, they carry one Kohler and few Bootz tubs.  I’ve never heard of Bootz. Disappointed by the options it was time to check out Lowes, which was not much better.  Time to consult the all-knowing (and not knowing) internet.

We do have experience selecting a tub about eight year ago when we redid the shower at our town home. All that I need will be a refresh and catchup on any tub innovations in the past eight years.

There are thee factors that drive tub choice: price, material, and style.

Fiberglass/Acrylic  – The lightest tub, but they feel cheap and usually are cheap. One plus, they feel warm to the touch.

Porcelain on Steel – Next lightest tub.  The current setup is this type. I find these to be noisy because of the hollow sound when you get in them and they are cold to the touch until the water warms up the surface.

Porcelain on Composite – Metal and other. We used one of these in our town home. It’s the frontrunner because it’s a happy medium of materials.

Porcelain on Cast Iron – Feels solid.  Can use as bomb shelter.  Hard to keep warm in the beginning because iron sucks the heat out of water.  I’m ruling out cast iron because they typically weigh 240 lbs and I have to get this tub upstairs.

The winner is the American Standard Princeton Americast tub. At 120 lbs, it is light enough for me to maneuver the tub into place. The style is classic bathtub, it’s what I think of when I imagine a bathtub. As a side note, for the DIY weekend warrior, American Standard provides really good instruction manuals.

Project Scope

I’m calling this post my quote. I think it will be an interesting test to see how close we end up in comparison to expectations.

Demo

  • Remove old tile and backboard down to the studs, go all the way to the ceiling
  • Remove old tub and disassemble fixtures and drain
  • Remove old flooring
  • Pull existing baseboards
  • Toilet and sink cabinet removed at a later date

Install

  • New tub and drain
  • Access panel behind drain (current CA plumbing code)
  • Backer board shower surround (1/2 inch), include vapor barrier
  • New copper pipe and faucets as needed, no change to shower height
  • Tile tub
  • Backer board floor
  • Tile floor

An inquisitive person reading this is probably thinking, what about the painting, how about the sink, are you going to change the medicine cabinet and mirror? Frankly, I don’t know. For now, I’m going to treat it as a separate project even though it will take longer over all to get everything done.

Bathroom Remodel

I decided to save money and increase my craftsman skills by remodeling a bathroom. I have never done any home project like this before on my own, but I got a few things going for me. First off, the bathroom is an extra bathroom that gets only a little bit of traffic, meaning I have the freedom to work on this project on the weekends instead of trying to rush to get it done. Also, I have my construction advisory panel that I plan on leveraging for material selection and how to advice.

20120204-160316.jpg

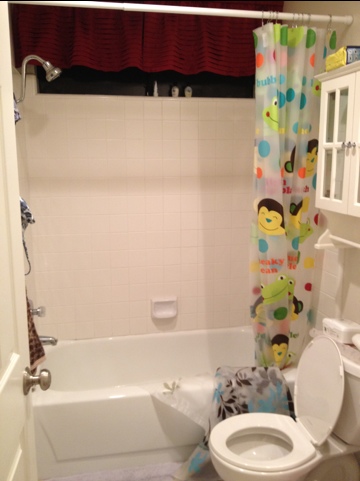
Bathroom - Before (2012-01-27)

As you can see, this is your standard second bathroom. The tub is porcelain on steel contraction and the wall is white 4 inch tile with white grout. You can’t see it in the picture, but the floor is vinyl. When we first moved in two years ago the floor was carpet. We never could get used to it so we replaced it after about three months with vinyl linoleum.